
Meta Description: Clipping Path Service requires some steps in creating useful paths. Get to know them in a few words and do it yourself professionally
Intro
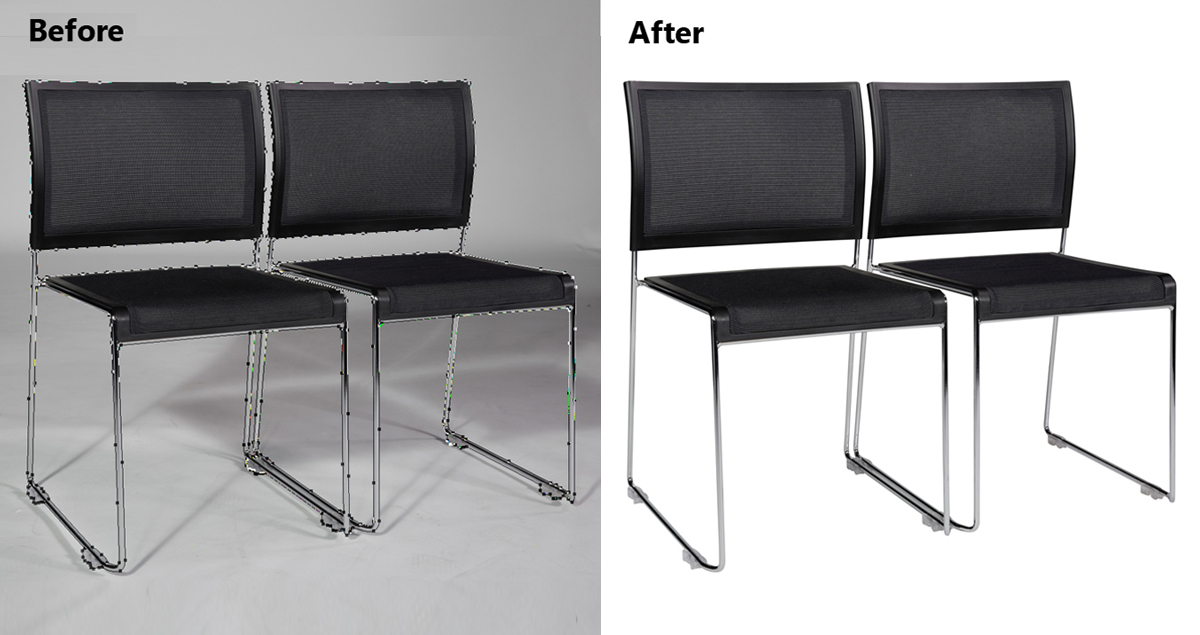
There are various techniques to create high-quality photo cut out in Adobe Photoshop versions. As there are so many things in graphic design, Clipping Path Service is quite common in most cases. The quickest and easiest way to illustrate an image cutout is visual elements.
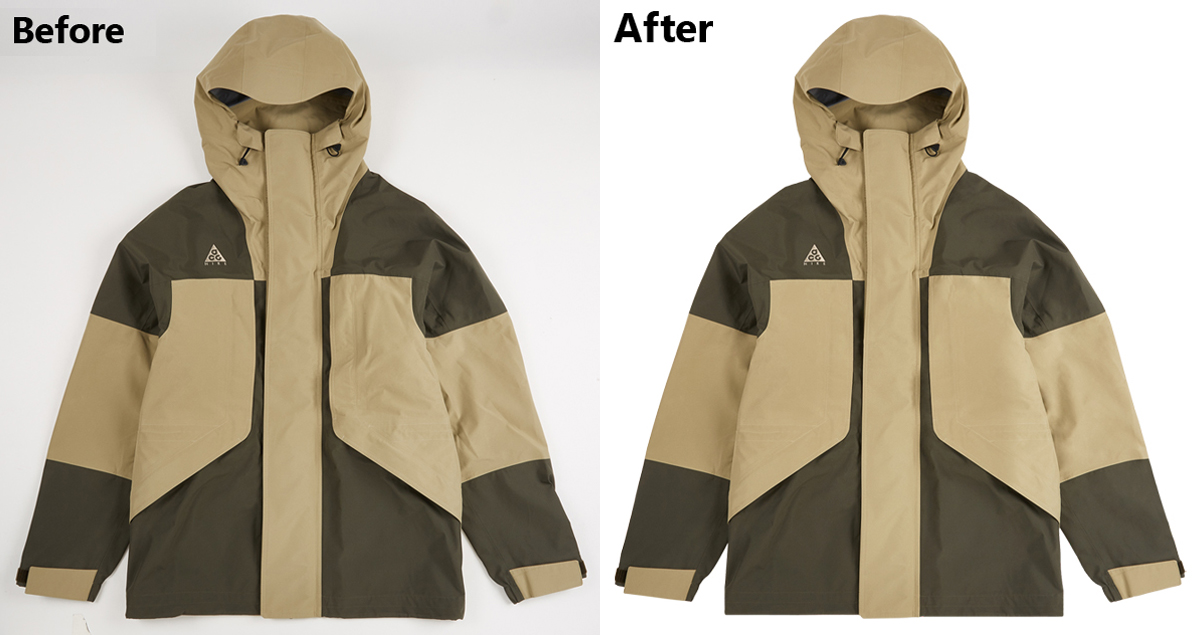
So, it is reasonable to work with the most effective one that we know as Clipping Path. But, how do we do the operation in real? Well, this is as simple as waving a magic wand because here the Pen Tool is the weapon to bring the best out of all.
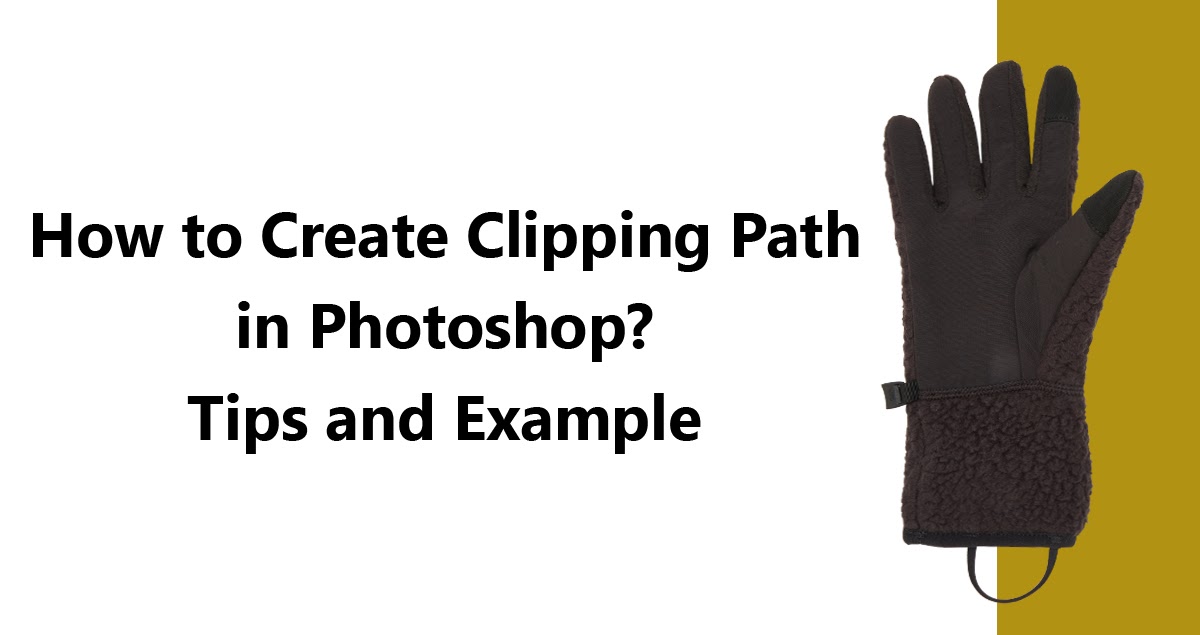
How To Do Image Clipping Path?
When it comes to doing high-quality Photoshop Clipping Path Service, the very thing of the matter is that there is no shortcut and effective way to accomplish it. And, you simply have to do it precisely by hand. The more you utilize the Pen Tool in Photoshop to create clipping paths, the better and more proficient you’ll get.
Step 1: Loading A Photo
Start a new document and paste it into your project frame, or load the Photoshop project containing the picture you’d like to path. Making an image clipping path with the Pen tool is the cleanest and most professional way to do it. Well, there are other methods but this is the best.
Step 2: Starting A Path
Zoom in on the subject edge you want to trace and start with an anchor point with the Pen tool selected. Although the Pen is basic, you may switch between its auxiliary tools by hitting the Alt/Command key. Create smooth bends and curves by adding anchor points.
Step 3: Closing The Path
Create anchor points between the subject and background objects to cover up around a subject. When you’re finished, go to the Paths panel which is located next to the Layers panel. Then pick the triangle symbol in the upper right corner. And, then select “Save Path.” Then pick “Clipping Path” from the same menu.
Step 4: Adjust the Clipping Path
Press Alt/Option for Win/MAC and click on the path from the Path Layer. A new Clipping Paths dialog box will open, enabling you to configure a few picture parameters. Make sure your new path is selected from the drop-down list first. The Flatness option can be left unchecked. Then, when you’re ready, press OK.
Step 5: Save Your Path
To save the path, go to Photoshop menu File>Save, and Photoshop will save the path on the image you worked with. This way you can utilize it in future Photoshop projects as well as other apps like Illustrator and InDesign.
Conclusion
Adobe Photoshop allows you to isolate specific sections of an image without having to change the layer. Literally, you to make changes to the shot at any time during the creative process. It just takes a few seconds to reverse the modifications. In Photoshop, every aspiring photographer and graphic designer should understand how to do an image clipping path. It allows you to make rapid modifications if a demanding customer requests a complete redesign. And this is especially important if you have paid deadlines.